Introduction
PDF to Image Free is an efficient solution to convert PDF to JPG/TIFF/PNG/BMP in one batch with outstanding quality and fast speed for easier viewing, manipulation, embeding, etc.
Step 1. Input FDF Files
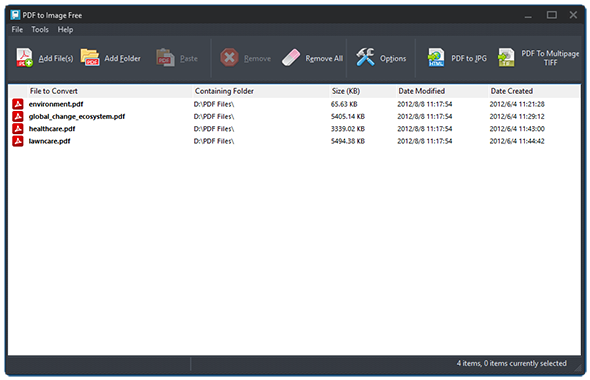
Launch PDF to Image Free and click “Add File(s)” or “Add Folder” to add PDF files you want to convert. The files will be listed in the window with total number displayed at the bottom of the program. To delete one or all of them, click “Remove/Remove All”.

Step 2. Specify Conversion Settings
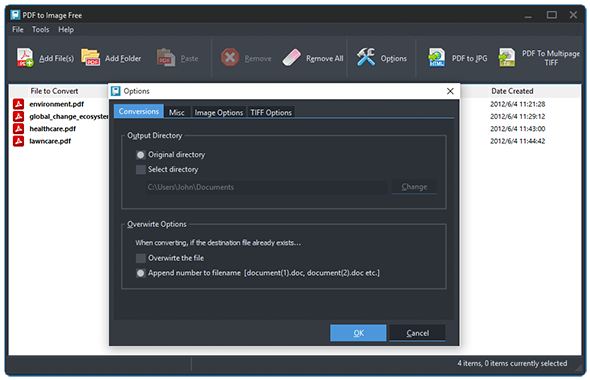
Click “Options” to specify the conversion settings. In the “Conversions” tab, you can select the output directory from original directory or check “Select directory” and click “Change” to choose the directory you want. You can also set the overwrite ways when the destination file already exists.

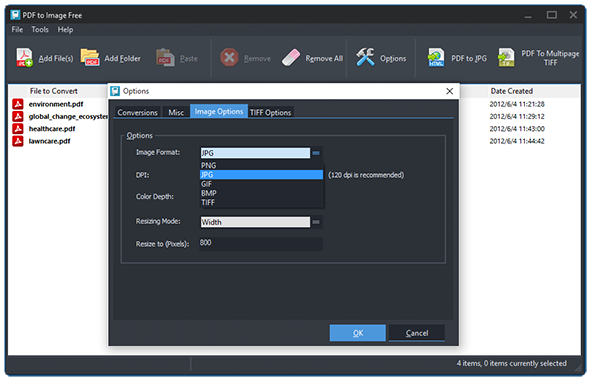
In the “Image Options” you can set the image formats for JPG, PNG, GIF, BMP, etc. as well as DPI value, color depth, resizing mode and so on to fulfill your needs. Fore those who want to convert PDF to TIFF, click “TIFF Options” and they can set the DPI value, color depth and compression type according to their needs.

Step 3. Convert PDF to Image
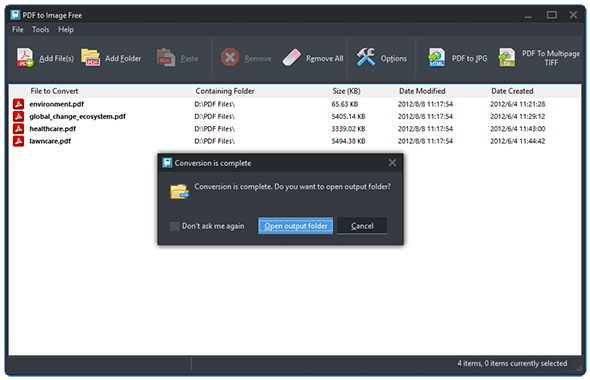
Click “PDF to JPG” to start conversion. Within seconds, the conversion will be completed. Click “Open output folder” to directly find the converted files.

